Tuesday, September 24, 2013

More Building!

It's been a few weekends of working on the coupe since my last post. So I've got a bit of catching up to do. Although not too much. We have hit snags on almost every aspect of the build and find ourselves re-doing everything 2-3 times before we get it right! It is a learning process for sure, but I feel like we are getting better every time we get to it. Everything from the way we communicate, to just knowing which tool is in which drawer has been helping us move along a little smoother. I feel like I'm remembering more about my wrenching days, and recalling little tricks and shortcuts to get things done.

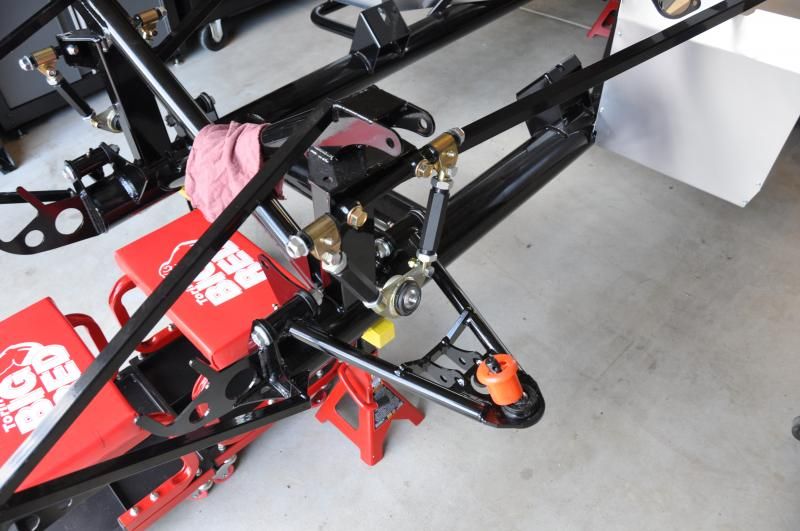
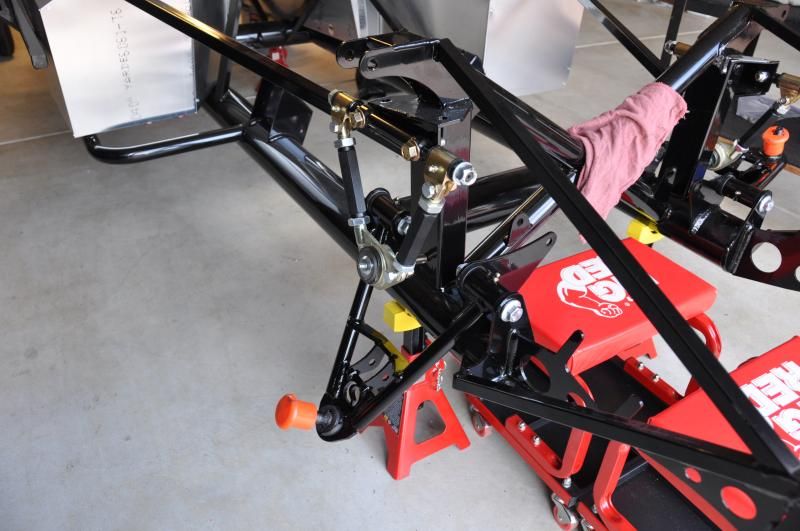
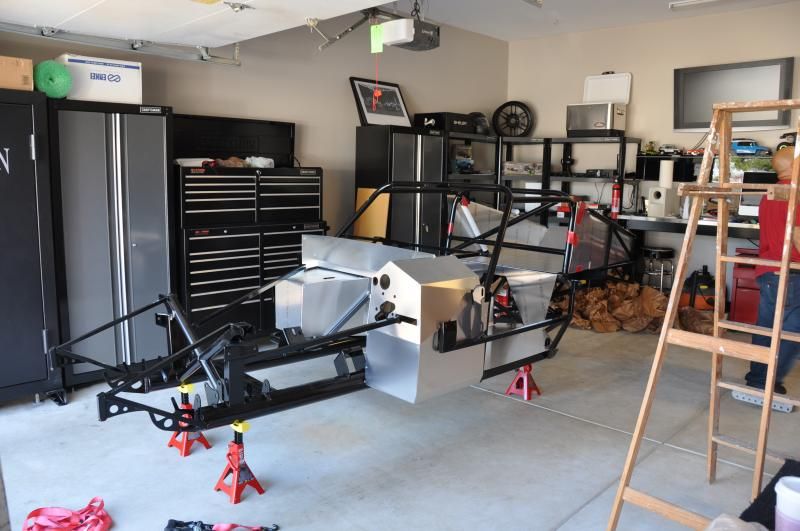
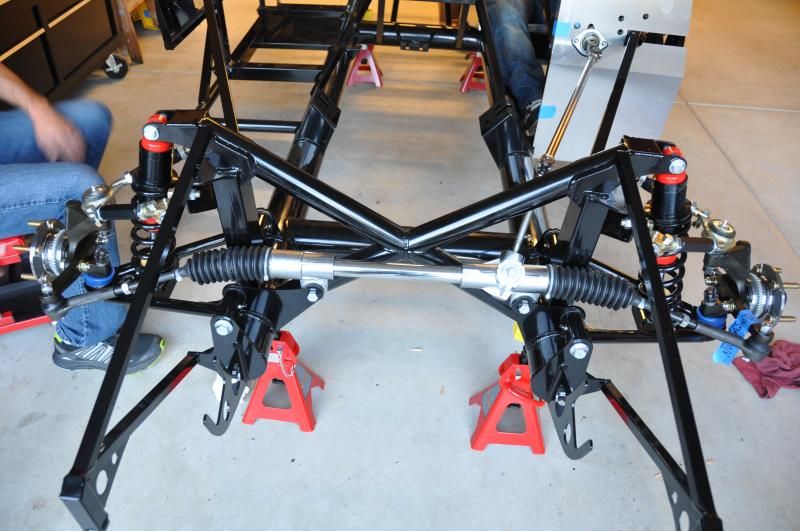
As for the car, we have finished the front suspension. We got the snap rings from Factory Five and got the coil overs put together. We had trouble torquing the castle nuts down onto the ball joints and ended up taking the front suspension apart 3 times to try to get it done. As of now 3 of the four bolts are torqued properly. We gave up on one and I will probably ask the mechanic to give it a shot when we have it aligned. The nut is on there very tight and there is a cotter pin running through it so theres no chance of it coming off. Amazingly the spindles slid on with no problem. A lot of builders have to pound them on with a mallet, but ours just slipped right on. We needed a 36MM socket to put the spindle nut on and it had to be torqued to about 250LBS.

You can see the pesky un-torqued castle nut there on the bottom ball joint. I hate the castle nut.


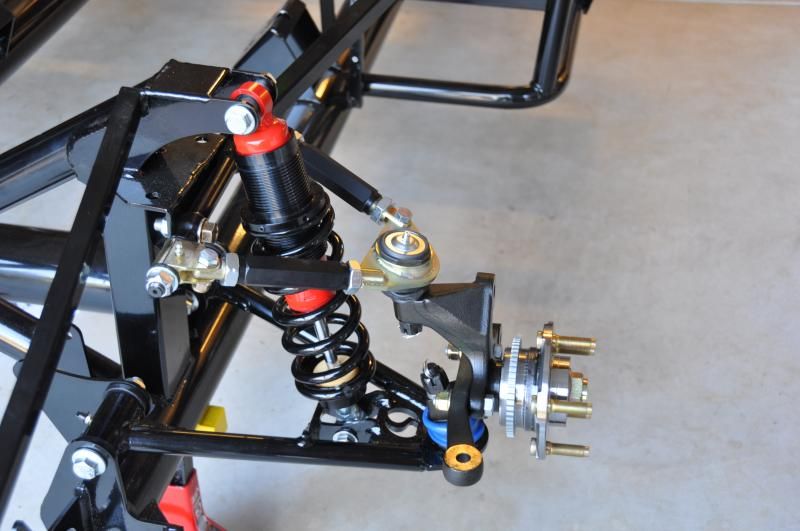
You can see the dust cap installed on the passenger side.


Next, we tackled the steering. The steering rack went in very easy. Others have had difficulty with the mounting brackets being too wide or too close together. Ours were fine and after installing the bushings and sleeves it went right in.


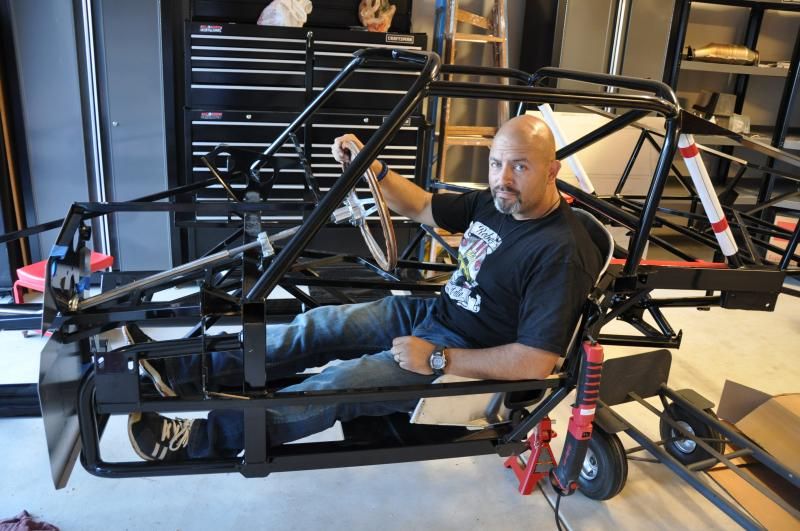
There is an adapter that goes from the steering rack into the lower steering shaft. You have to switch this out with a FFR supplied part and it too a bit of muscle but we eventually got it done. We installed the flange bearing into the front of the pedal box (make sure that both pieces of the bearing go in front of the pedal box) and the pillow bearing onto the frame. We then slid the lower steering shaft through the bearings and attached it to the steering rack. Now, you are supposed to slip the upper steering shaft into the lower. The FFR video show this as very easy but it wasn't so for us. We couldn't get the upper into the lower more than half an inch and it would bind. It wasn't budging! We ended up sanding down the upper with a flap sanding wheel and using silicone lubricant to get it in. Eventually this will be how you adjust your steering wheel distance to the driver, so you want it to be easy to slide in and out. It will also be impossible to remove the steering shaft if you can't separate the two pieces. This would make later aspects of the build impossible. Once the upper and lower shafts were connected we attached the steering arms to the steering rack, threw on the steering wheel and gave it a turn. It worked! We can now actually steer the car!


Stay tuned, theres more coming!

Monday, September 2, 2013

DAY 1 OF BUILD!!!

So we finally started working on the chassis. We had intended to complete the front suspension but hit a snag when we realized that there were no snap rings for the coil overs. It was labor day weekend so I'll have to call FFR on Tuesday to have them sent out. I discovered later, through the forum at FFCARS.com that I could have assembled the shocks without the snap rings and just put them on later when the coil overs were installed on the car. Oh well, it's all part of the process. We did manage to install the front upper and lower control arms without any problems.


It felt great to work on the car even though it was over pretty quick. Since we finished up so fast we had some time to do some stuff around the garage and get things ready for our next build day. Most notably finishing some restoration work on a vintage tanker desk that I picked up off of Craigslist. This desk is probably from the 50's ad was used in the office of a local grocery store. It is in pretty good condition except for some surface rust and the top was completely ruined. We cleaned it up, scraped off the material on top and sanded all of the adhesive and rust down to the bare metal. We then applied several coats of clear coat to protect it. The result is a beautiful finish that looks like something you might find at restoration hardware. These desks are really cool and can go for up to one thousand dollars in the right condition. I picked this baby up for $40 and some elbow grease! I think it looks amazing and will be a great place for me to do my research for the build and organize my paperwork.


Stay tuned!
We finally received our Coupe kit from Factory Five Racing on 8-17-2013. The driver for Stewart Shipping, Scott, also known as "Honeybadger" was great, and got our car and all of the parts tucked away into our garage in no time.


The one on top is ours. The one below was being delivered to someone very close by and I'm hoping to get in touch with him.


Finally!

The family is now complete!

These are my guys. Gonna be spending a lot of time together trying to figure this thing out!

The lines of this car are truly beautiful.


With the body off, its time for a little fun.


The naked chassis is a thing of beauty as well.


We used 2X4's to keep the body from deforming.

And then hang it from the ceiling to get it out of the way until we are ready for it.


The nose goes in the backyard for now. It actually fit perfectly over the fence post with a couple of 2X4 scraps below it.

We put together some mechanic stools with wheels. We are all too old to bend over or crawl on our knees anymore!


It's okay to drink and drive as long as you have a helmet... and you have a car with no motor, or wheels... or anything.


My project manager makes sure to inspect all of our work. She's a tough one!


Stay tuned for more kit car goodness!


Tuesday, June 4, 2013


For a decade I have dreamed of this. I have researched, educated and prepared for this. Last month I completed the FFR Build School at Mott College in Howell Michigan and helped build a MK4 Cobra from the frame up in 3 days. On May 31, 2013 after getting permission from my lovely wife we ordered a Type 65 Coupe from Factory Five Racing.  This blog will journal our adventure in assembling this amazing car.

For more information on Factory Five cars please visit:

www.factoryfive.com
www.ffcars.com.

Our kit won't arrive until late July or early August. In the mean time we will finish prepping our garage and collecting the tools needed for this project. More information on that to come. Stay tuned!