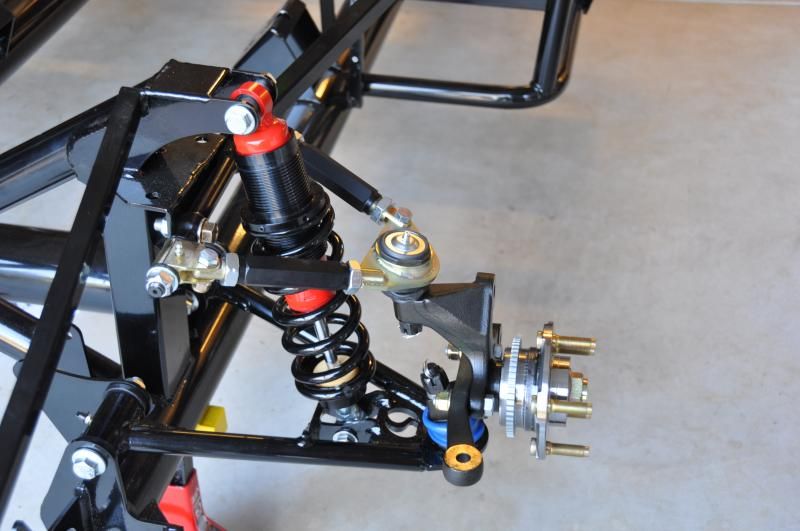
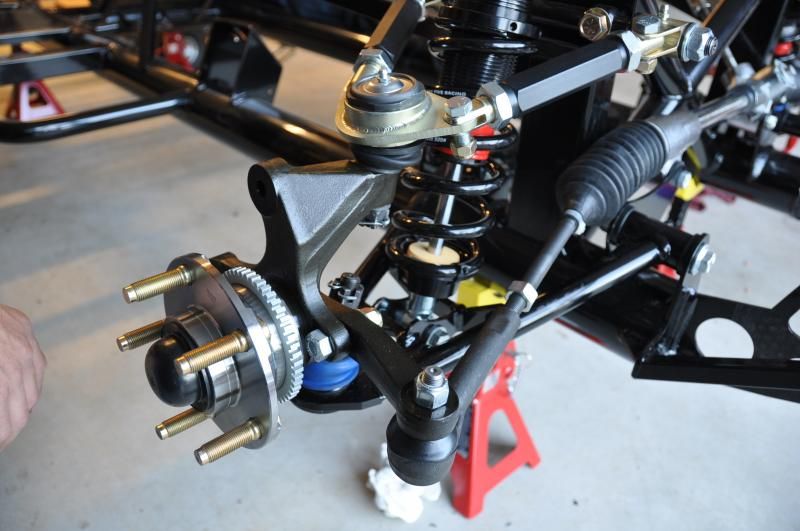
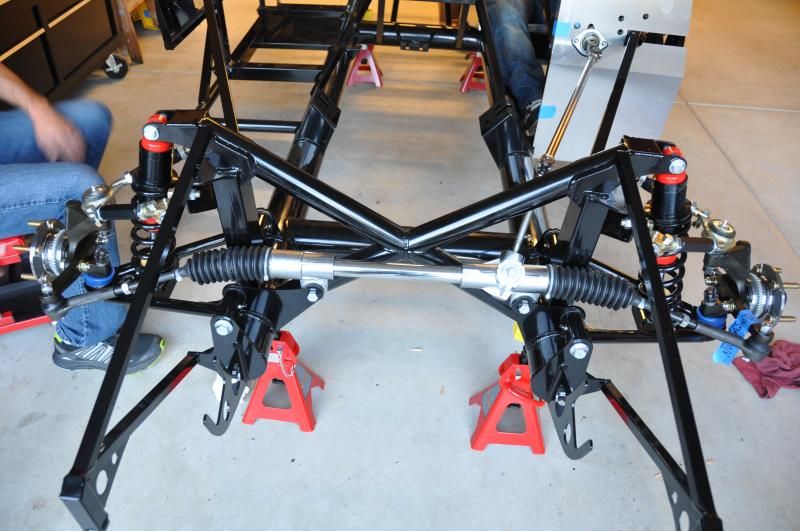
As for the car, we have finished the front suspension. We got the snap rings from Factory Five and got the coil overs put together. We had trouble torquing the castle nuts down onto the ball joints and ended up taking the front suspension apart 3 times to try to get it done. As of now 3 of the four bolts are torqued properly. We gave up on one and I will probably ask the mechanic to give it a shot when we have it aligned. The nut is on there very tight and there is a cotter pin running through it so theres no chance of it coming off. Amazingly the spindles slid on with no problem. A lot of builders have to pound them on with a mallet, but ours just slipped right on. We needed a 36MM socket to put the spindle nut on and it had to be torqued to about 250LBS.
You can see the pesky un-torqued castle nut there on the bottom ball joint. I hate the castle nut.
You can see the dust cap installed on the passenger side.
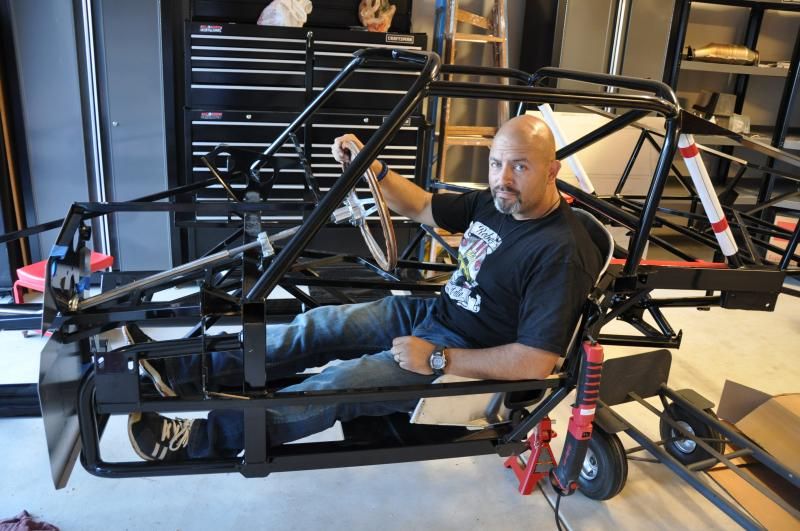
There is an adapter that goes from the steering rack into the lower steering shaft. You have to switch this out with a FFR supplied part and it too a bit of muscle but we eventually got it done. We installed the flange bearing into the front of the pedal box (make sure that both pieces of the bearing go in front of the pedal box) and the pillow bearing onto the frame. We then slid the lower steering shaft through the bearings and attached it to the steering rack. Now, you are supposed to slip the upper steering shaft into the lower. The FFR video show this as very easy but it wasn't so for us. We couldn't get the upper into the lower more than half an inch and it would bind. It wasn't budging! We ended up sanding down the upper with a flap sanding wheel and using silicone lubricant to get it in. Eventually this will be how you adjust your steering wheel distance to the driver, so you want it to be easy to slide in and out. It will also be impossible to remove the steering shaft if you can't separate the two pieces. This would make later aspects of the build impossible. Once the upper and lower shafts were connected we attached the steering arms to the steering rack, threw on the steering wheel and gave it a turn. It worked! We can now actually steer the car!
Stay tuned, theres more coming!


No comments:
Post a Comment